Most homeowners struggle to picture a remodel from plans alone. When they cannot visualize the outcome, they hesitate, request more revisions, or delay decisions that affect schedule and profit.
3D visualization tools solve a real business problem for remodelers: they help clients feel confident earlier. That means faster approvals, clearer scope, smoother handoffs between design and build, and fewer surprises once work starts.
This guide breaks down the 3D tools remodelers should be using, plus a practical workflow for importing plans, presenting options, and getting clean approvals that keep projects moving.
Why 3D Visualization Matters for Remodelers
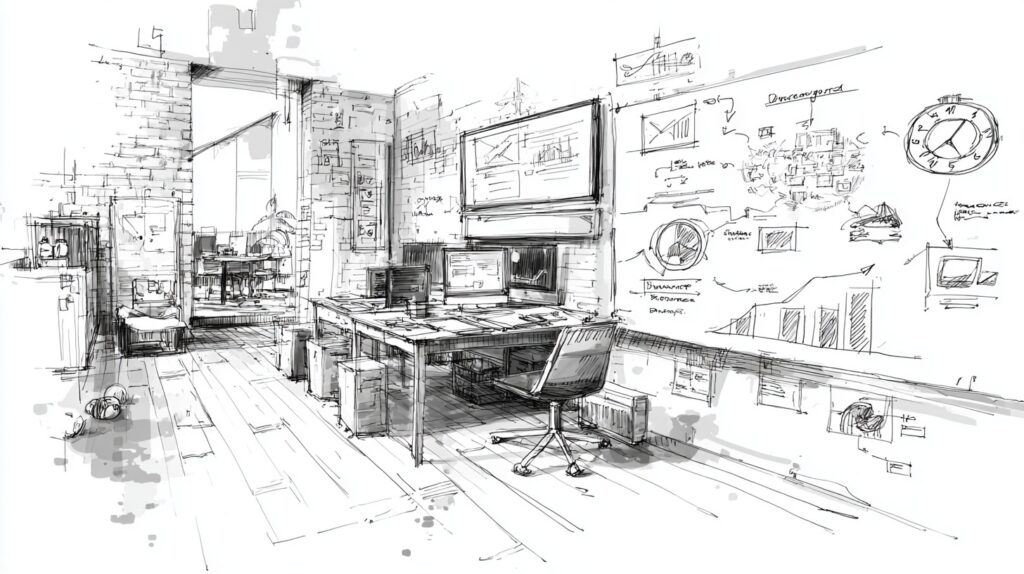
3D is not about “fancy renderings.” It is about clarity. When a homeowner can see layout, scale, materials, and lighting in a realistic way, your process feels more professional and the project feels safer to commit to.
- Faster buy-in: Visuals reduce uncertainty and help clients choose a direction with confidence.
- Cleaner scope: The more clear the plan, the easier it is to align on what is included and what is not.
- Better presentations: 3D gives you a stronger way to sell upgrades and options without pressure.
- Smoother handoffs: Clear visuals help the build team, trades, and client stay aligned as the project moves.
If you sell high-consideration projects like kitchens, baths, basements, and additions, 3D visualization is one of the most practical upgrades you can make to your sales process.
What “Good” 3D Tools Do in a Remodeler Workflow
Most remodelers do not need a Hollywood-level rendering pipeline. What you need is a toolset that matches how you work: quick plan-to-visual, easy iterations, and a clean way to present options without confusion.
High-impact capabilities to look for:
- → Fast plan-to-3D: Build a room or whole floor plan without spending days modeling from scratch.
- → Material and finish options: Swap cabinets, tile, flooring, paint, and fixtures quickly for real comparisons.
- → Simple client presentation: Share visuals in a way clients can understand without needing design training.
- → Collaboration support: Easy exports, screenshots, and updates for your team and trade partners.
- → Repeatable templates: Save common kitchens, bathrooms, and elevations so each new project starts faster.
Tip: The right tool is the one you can use consistently. A slightly “less powerful” tool that you use weekly beats an advanced tool that sits unused.
Tool Overview: Strong 3D Options Remodelers Actually Use
Below are common 3D tool categories remodelers rely on. Some focus on speed and presentations. Others focus on deeper modeling and more advanced walkthroughs. The best fit depends on your typical project type, sales cycle, and how much design you do in-house.
|
Fast Plan-to-3D Tools
Best for: Quick floor plans, early concepts, and clean client visuals.
Why remodelers like them: Speed and clarity. You can move from idea to presentable visuals without heavy modeling time. How it fits your business: Great for early buy-in and keeping your pipeline moving without adding design overhead. |
|
3D Modeling Tools
Best for: More detailed modeling, custom spaces, and flexibility in geometry.
Why remodelers like them: More control when projects are unique or when you need to model specifics. How it fits your business: Useful when your brand is built on customization and design detail. |
|
Real-Time Rendering and Walkthrough Tools
Best for: High-impact presentations, lighting realism, and interactive walkthroughs.
Why remodelers like them: Clients “get it” faster when they can walk the space virtually. How it fits your business: Strong for premium positioning, design-build, and competitive markets. |
Importing Plans and Building a Clean Starting Point
The easiest way to waste time in 3D is rebuilding the same information multiple times. A clean workflow starts with the best version of your inputs: existing measurements, floor plans, and a clear scope of what is changing.
- Start with accurate base info
Use the best available plan source: field measurements, an existing plan, or a rough sketch that is complete enough to model without guessing. - Define the decision you need
Do not model everything. Model what the client must decide: layout, cabinet runs, island size, shower footprint, wall changes, or window placement. - Create two to three options max
Too many options slows approvals. A tight set of choices is easier for homeowners to evaluate. - Label what is included
Pair visuals with plain-English scope. If it is not included, say so. That helps avoid misunderstandings later.
If you want the visuals to lead to booked consults, your website needs to support that story with strong project proof. These resources pair well with 3D presentation workflows:
- Project photos and proof: Project Galleries and Before-and-After Photos
- Case study structure: Case Studies for Remodelers
- Portfolio credibility: Project Portfolios That Win Clients
Presentations That Make Homeowners Say “Yes” Faster
Remodel presentations work best when they are simple. Most clients do not want a design lecture. They want to understand the new space, compare options, and feel confident the result will match their expectations.
|
Use a “Before, After, Option A, Option B” Format
What it does: Keeps the conversation focused on decisions.
Why it works: Homeowners understand contrast. They quickly see what changes and what stays. |
|
Show Realistic Lighting and Materials (When It Matters)
What it does: Helps clients evaluate finishes and feel the space.
Why it works: Realistic visuals reduce “surprise” reactions once materials arrive. |
|
End Every Presentation With Next Steps
What it does: Turns a good meeting into a decision.
Why it works: Clients need a clear path: approve option, approve budget range, schedule walkthrough, sign, and start. |
Client Approvals: Turn Visuals Into a Clear “Yes”
3D is most valuable when it supports a clean approval process. That means capturing what the client approved, what assumptions were made, and what changes will trigger revisions to cost or timeline.
Approval checklist that protects your schedule:
- → Confirm the layout decision: Option A or Option B, plus any notes on changes.
- → Confirm key dimensions: island size, shower footprint, clearances, and openings that affect build.
- → Confirm finish direction: “Inspiration” level is fine, but call out what is final vs placeholder.
- → Document exclusions: If appliances, plumbing relocation, or structural changes are not included, say it clearly.
- → Define change rules: “After approval, changes may affect budget and timeline.” Keep it simple and direct.
If you run design-build or close projects with a strong process, these two resources support the same “less chaos” goal:
Design Workflows That Keep Remodeling Projects on Schedule
Integrating Design and Construction Teams
A Practical 3D Workflow You Can Use This Month
If you want 3D to help your business, keep the workflow simple. The goal is repeatability. Below is a model that works for many remodelers without turning design into a full-time burden.
- Use 3D at the right moment
Bring 3D in when layout and scope decisions matter most. Early visuals can build confidence before a client gets stuck. - Keep visuals tied to the decision
Every scene should answer a question: “Is this the layout?” “Is this the cabinet run?” “Is this the shower size?”. - Package visuals with plain-English notes
A render without context can still be misunderstood. One or two clear paragraphs helps clients interpret what they are seeing. - Store and reuse what works
Save common layouts, standard cabinet setups, and typical finish palettes. This is how you compound speed over time.
Common Mistakes That Make 3D Feel Like a Waste of Time
Watch out for these issues:
- → Modeling too much: Building full detail before you have a direction slows everything down.
- → Too many options: More choices can increase uncertainty instead of reducing it.
- → No written context: Clients may assume something is included just because they saw it in a render.
- → Weak presentation flow: Jumping between views without a clear “decision path” confuses homeowners.
- → Not connecting 3D to proof: Visuals are stronger when paired with real project photos and case studies.
For the conversion side of this, pair your 3D process with a website experience that makes it easy to book consults:
Remodeling Website That Converts
Calls to Action That Convert
How GYRO Helps Remodelers Use Visuals to Close Better Projects
GYRO is a growth platform built for remodelers who want steady demand without building a big marketing team. That means helping you turn what already works, like strong visuals and project proof, into a simple system that consistently attracts and converts the right homeowners.
With GYRO, your visuals can become part of a repeatable marketing engine:
- SEO-aligned content that targets your most profitable project types.
- Project proof structure that makes your work easy to trust and easy to choose.
- Website and content systems that route visitors to the right next step.
- Strategist oversight to keep messaging clear, accurate, and on-brand.
If you want to see how this connects to your site, start here: Website Design and Development.
Want Faster Approvals and Better-Fit Projects?
3D visualization is one of the cleanest ways to improve client confidence without adding more meetings or more back-and-forth.
If you want help turning your visuals and project proof into a system that attracts better leads and supports higher close rates, GYRO can help.
Key Takeaways
3D Visualization Helps Remodelers Sell With Clarity
- 3D tools help homeowners understand the plan and commit with more confidence.
- The best tool is the one that fits your workflow and stays consistent week to week.
- Keep presentations simple: a tight set of options, clear context, and a decision path.
- Turn visuals into approvals by documenting what is final, what is placeholder, and what is excluded.
- Pair 3D with real project proof so your marketing and sales story feels complete.
If you want more of the right projects, build a simple 3D workflow and stick with it. The compounding effect comes from consistency.